SAML SSO - Google Workspace
The ABsmartly Web Console supports SAML SSO with Google Workspace. This guide will walk you through the steps to get it set up!
Create a new SAML App
- Go to the Google Admin Console and log in as an administrator.
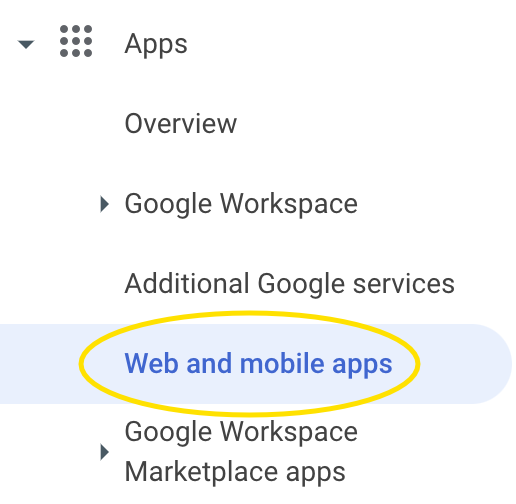
- In the sidebar, navigate to
Apps > Web and Mobile Apps.
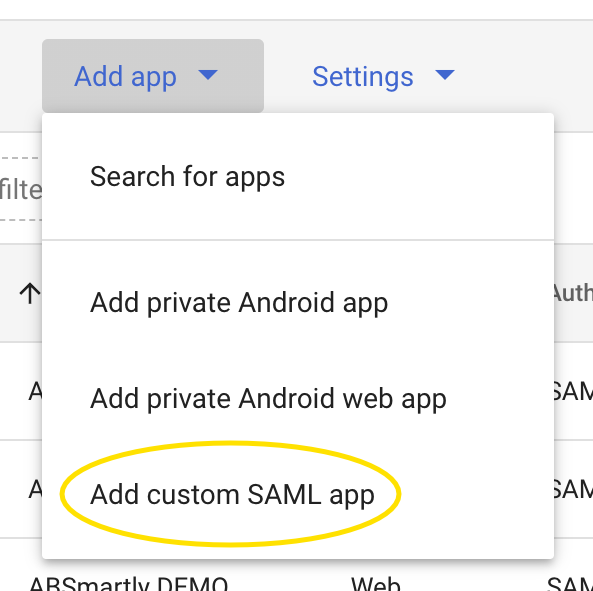
- At the top, click
Add app > Add custom SAML app.
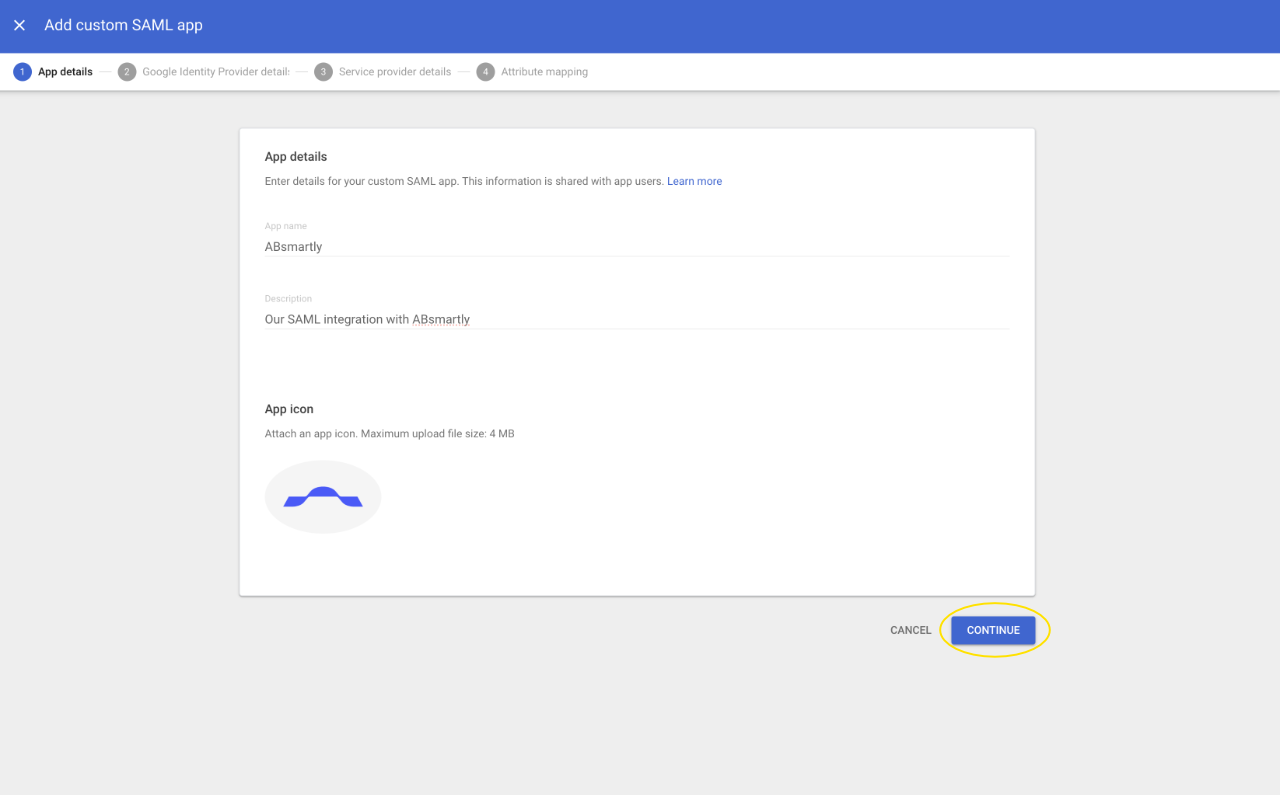
- Give the app a name, description, a logo and click
Continue.
App Logo
You can use the ABsmartly logo by uploading this image.

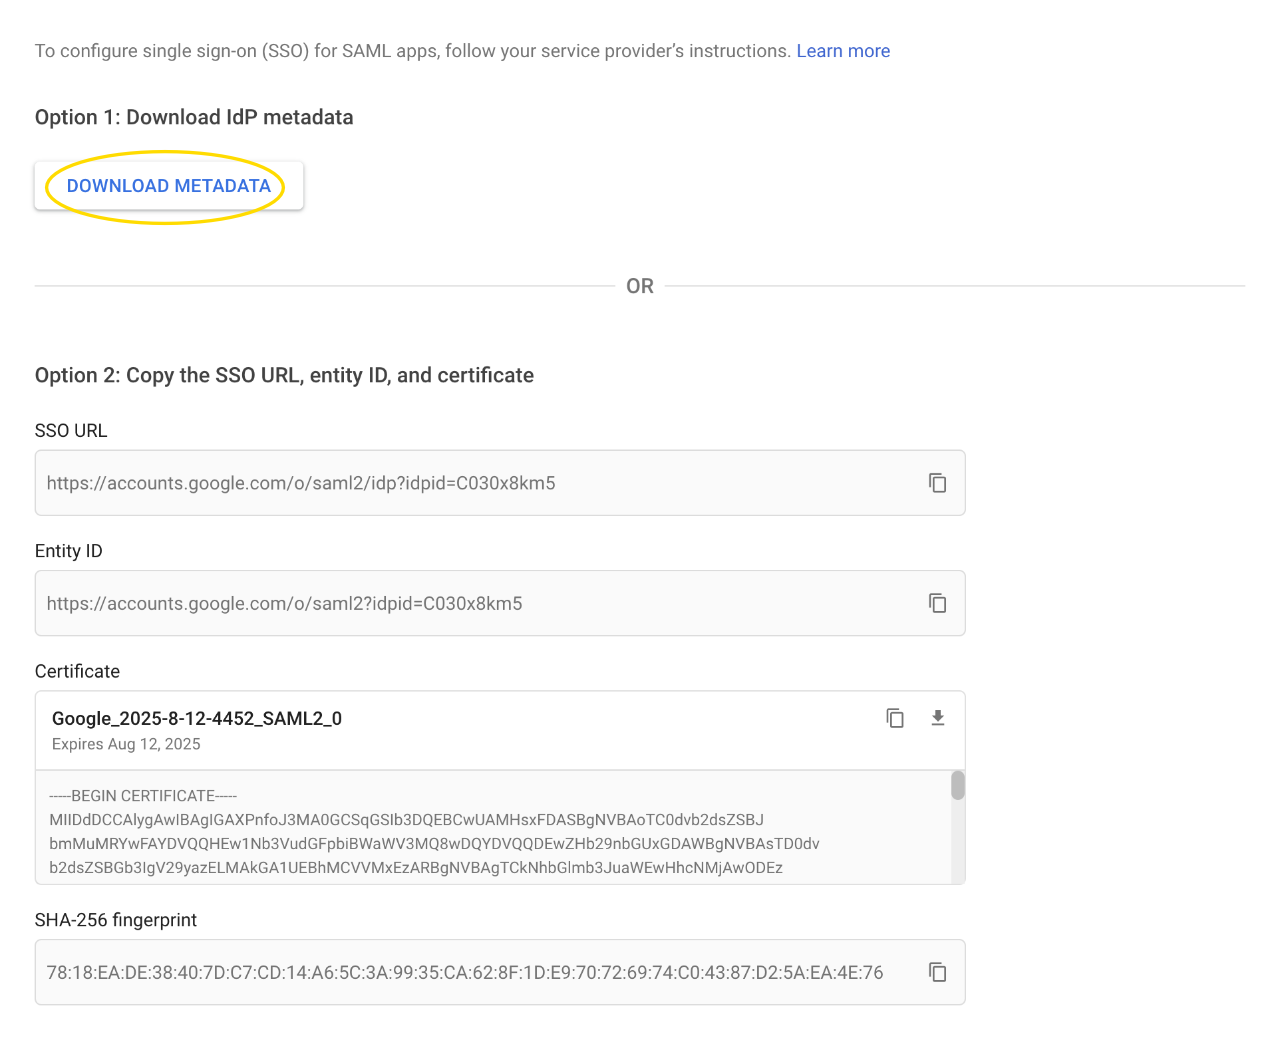
- Click
Download Metadataand save the file somewhere safe. At the end of this guide you will send your metadata to us so that we can get you set up quickly. ClickContinue.
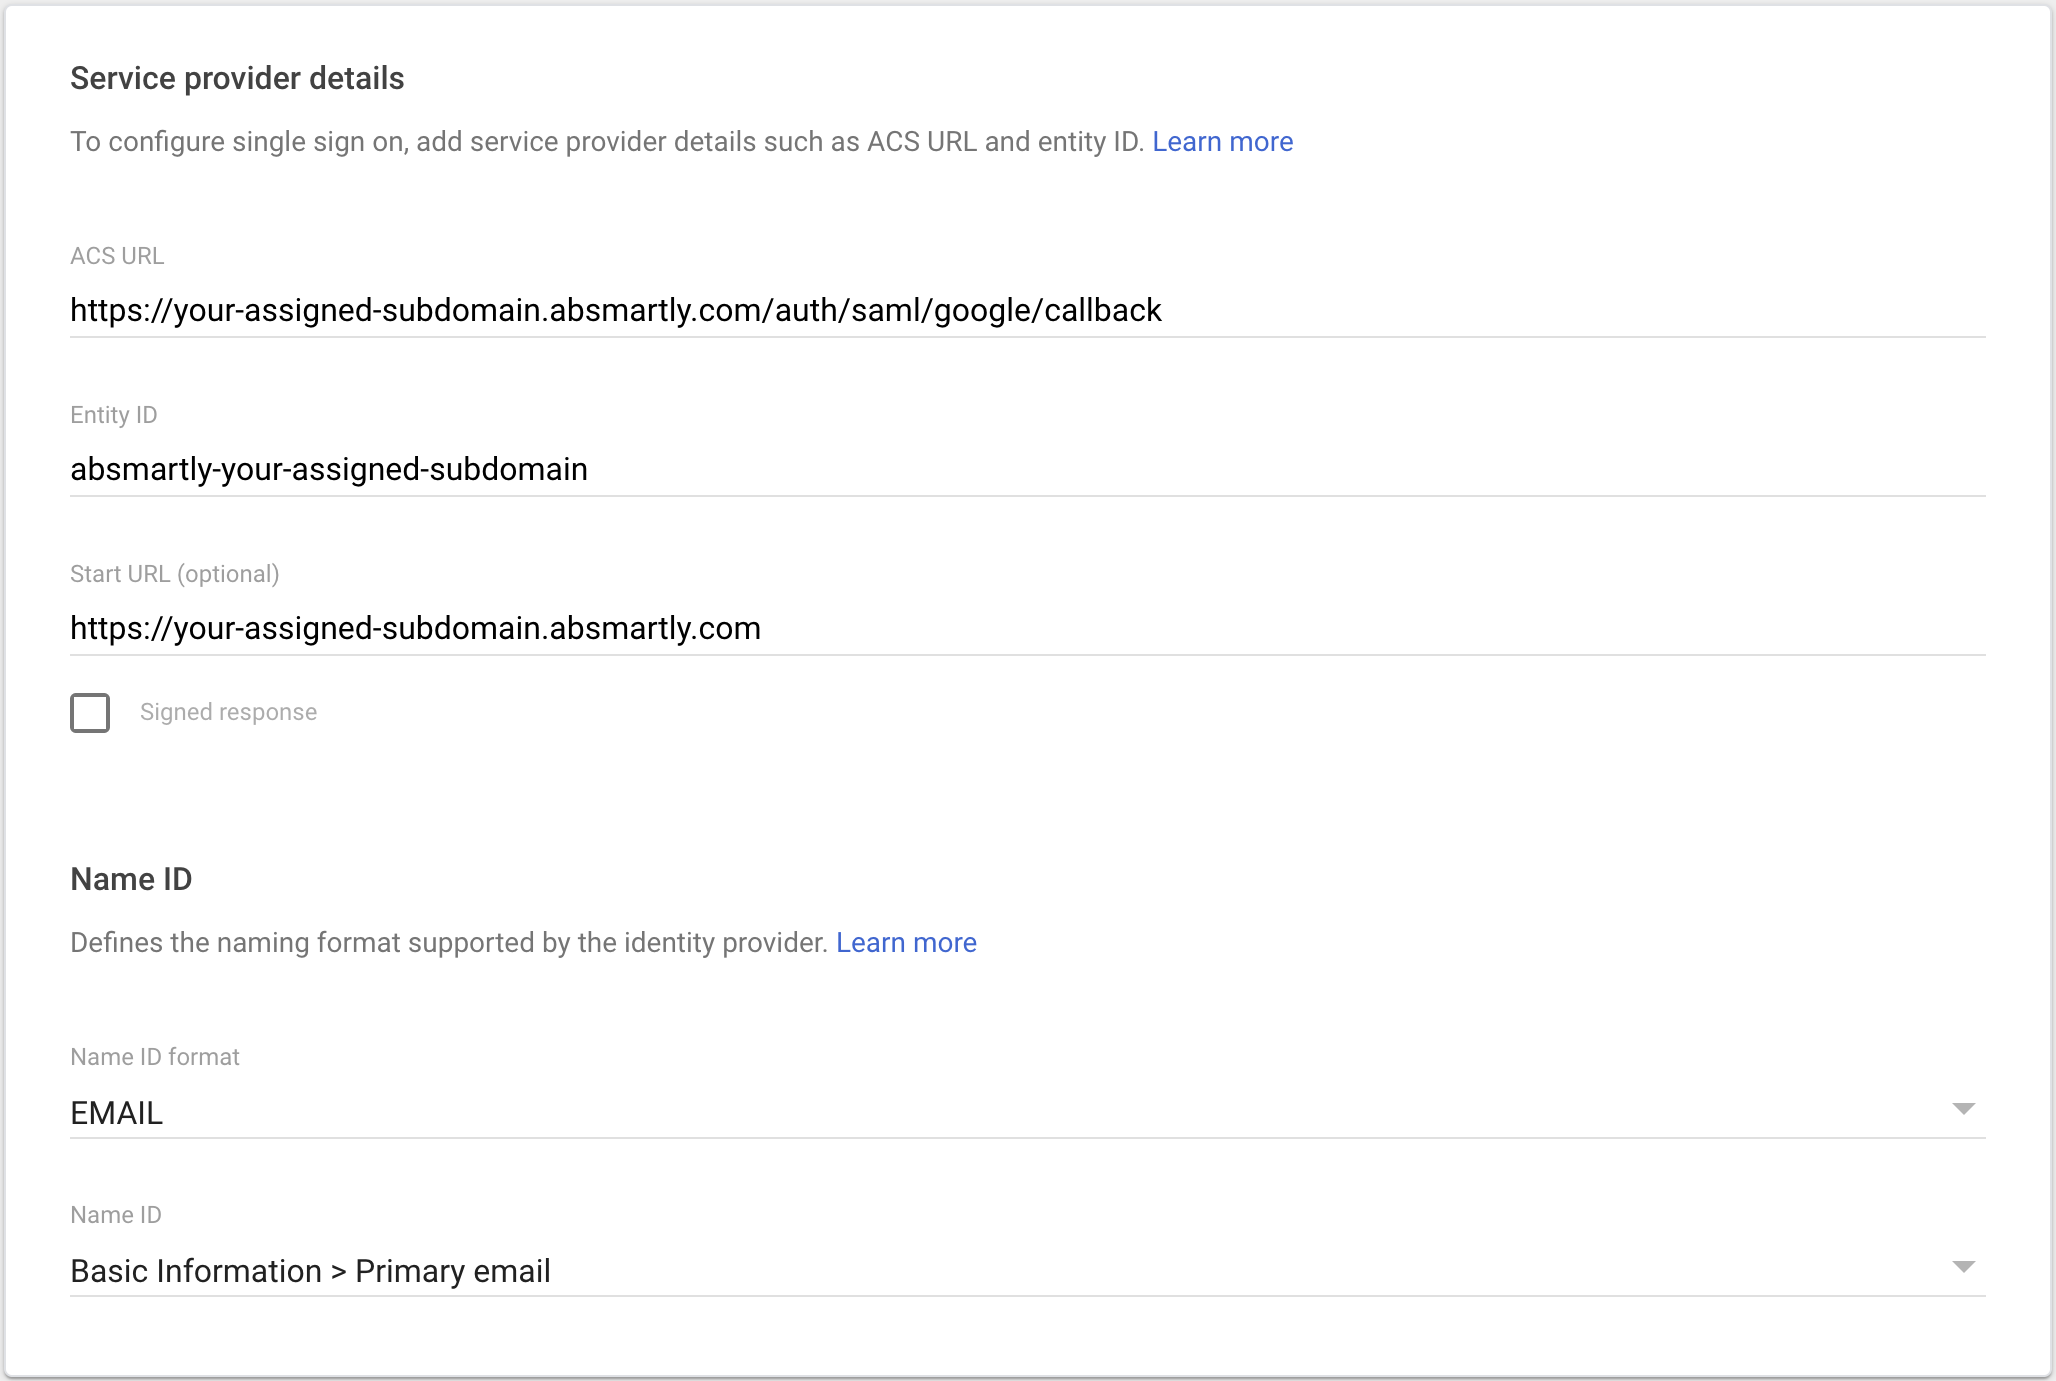
- For these fields input:
- ACS URL:
https://<your-assigned-subdomain>.absmartly.com/auth/saml/google/callback - Entity ID:
absmartly-<your-assigned-subdomain> - Start URL:
https://<your-assigned-subdomain>.absmartly.com - Name ID Format:
EMAIL - Name ID:
Basic Information > Primary Email
- ACS URL:
- Click
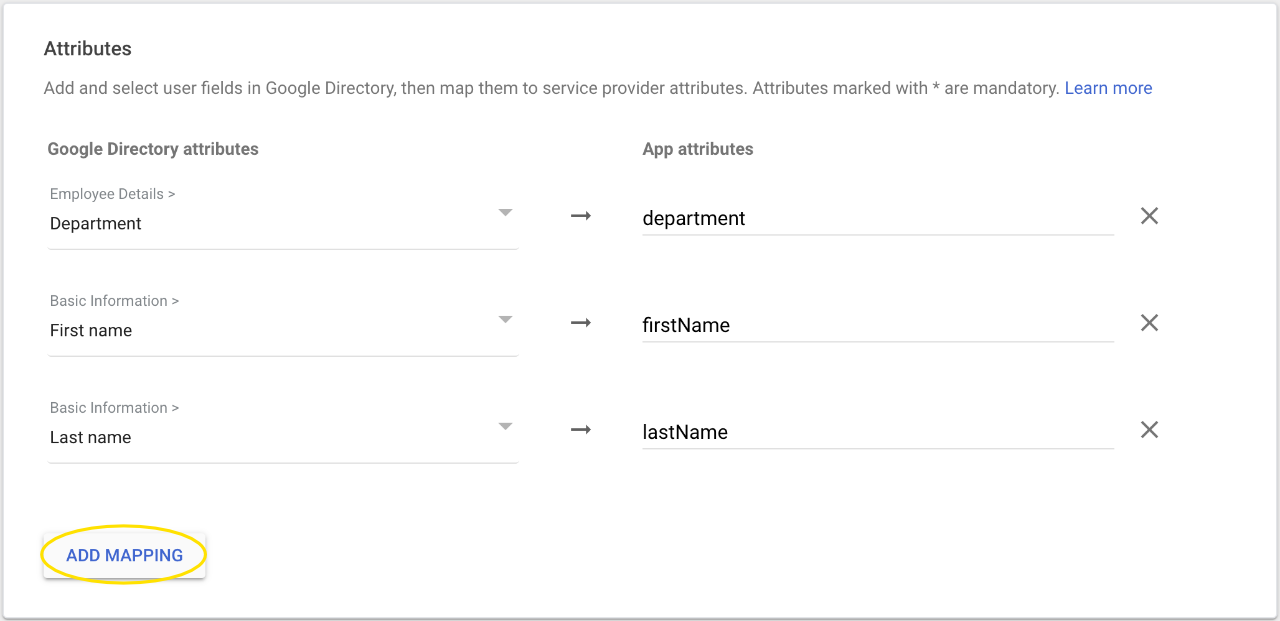
Continue. - Add three Attribute Mappings for: (case-sensitive)
- Department -> department
- First Name -> firstName
- Last Name -> lastName
- Click
Finish. - Lastly, send your metadata file to us via email or on Slack and your employees should be able to log in to the ABsmartly Web Console using their Google Workspace accounts!